Here we are for the final installment of my work pants Sewing Diary. (You can find the first two posts
here and
here.) When we left off last time I had just finished sewing the welt pockets on the back of the pants.
- - - - - -
Okay, first things first...baste the front and back pants pieces together at the side seams and check the basic fit.
Trim off the excess from the one of the edges that resulted from an amendment to the pattern pieces.
Re-sew the seams with a permanent stitch, right over the longer basting stitches.
Refill the iron with water to keep lots of steam flowing.
Press the seams toward the back from the inside...
...and outside.
After another fit check, mark the back seam so the pants will fit at the waist and sew the back/crotch seam.
Check fit again.
Looks like they are a little snug, but too late to change now! They will probably loosen up a bit with some wear.
Reinforce the crotch seam to prevent
further accidents.
Pin almost the entire waistband before remembering that belt loops need to be attached first.
Sew tubes of narrow fabric and turn inside out.
Give the tubes a good press so they are nice and flat.
Trim to size.
Determine placement by comparing to a previous version.
Pin the belt loops in place, and secure the pocket fabric with a few extra pins so it doesn't flop all around and mess everything up.
Sew the waistband on over the belt loops and trim down one of the layers.
Press the seam up toward the waistband.
Oops! Redo that one!
Briefly ponder why the waistband pieces don't match at the ends by a longshot, since they were cut from the exact same pattern piece. The lower layer must have stretched out quite a bit while being sewn on.
Trim another layer.
While walking to the ironing board, notice a pin lodged in my sock. The funny thing is that I knew I was missing a pin, and I guess I found it without even looking!
You guessed it, time for more pressing.
Attempt to get a perfectly square edge on the end of the waistband by any means necessary.
Slowly and carefully stitch in the ditch, catching the under layer of the waistband as I go.
The ditch-stitching is (nearly) invisible on the outside and secure on the inside.
Tack the belt loops down at the top. (This has always looked very sloppy to me. I have since learned to sew just a straight stitch and not zigzag over the top, which looks much nicer.)
Audition buttons.
Check the bobbin thread, as I wouldn't want to run out during the middle of a buttonhole.
Check the size of the button against the buttonhole foot to determine how big to make the hole.
Sew the buttonhole and carefully open with the seam ripper.
It fits!
Put the pants on and mark the place where the buttons should be sewn on...
...and to determine length. (I briefly entertained the idea of going
Blaine Anderson short, but ultimately decided against it.)
Rejoice in my button foot that attaches buttons by machine.
But lament that I still have to hand-sew one button so the threads don't show up on the outside of the pants.
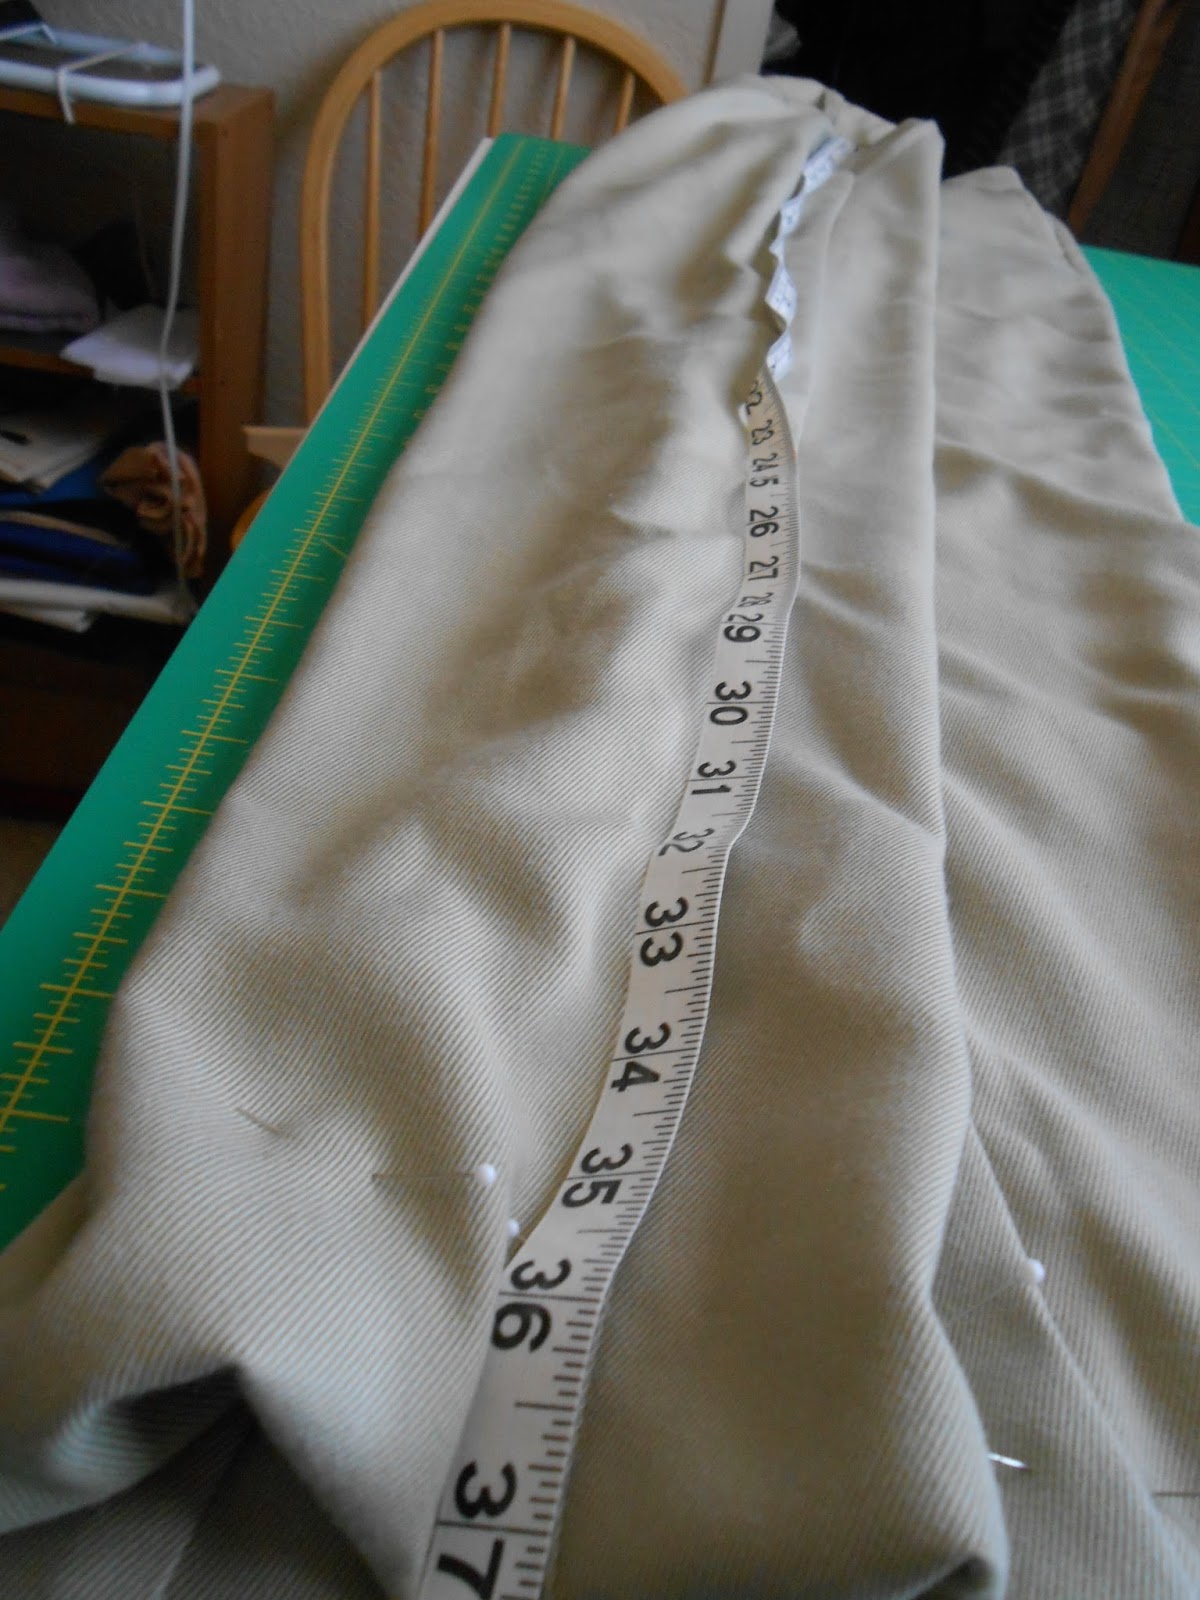
Measure the length of the legs for an accurate and matched hem length on both legs.
Sew in a circle.
After a final press, admire the finished product and all its little details!
(This photo makes them look like old-man pants - huge waist and extremely tapered at the bottom. Hopefully they don't look like that while I'm wearing them!)
Time to clean up. Fold up the pattern pieces and put back in the envelope.
Put the scraps in the scrap pile and put away rulers, marking tools, etc.
Get pumped up for the next 3+ versions.
I now also have some light stone-colored fabric and some medium-dark grey fabric. I am going to be set for work pants for some time to come!
Model for some finished product photos.
(I hate how the insides of the pockets peek out. I may add a button/buttonhole to keep them closed better.)
The final, and perhaps most satisfying, step is to cross the project off the list!
Thanks for following along with my Sewing Diary! I hope you found it at least a tad bit entertaining and perhaps a little educational too. There really are a ton of little steps that add up to a successful finished product, but the end result is definitely worth it in my opinion!