Wednesday, November 30, 2011

Chicken and Apples

LJ found this recipe at Simply Recipes and thought it sounded delicious.  Since we had all the ingredients on hand I decided to give it a shot for dinner.

I keep a bag of chicken breasts in the freezer so I pulled one out to thaw.  Since it was a big one I cut it in half to create a better portion size.


Dredged the chicken in flour

Fried the chicken on each side

Added the Granny Smith apples to the pan

Added the sauce

Simmered covered

Finished meal
We served the chicken and sauce over rice and the flavors were all pretty mild.  The meal was very simple to make and worth a try. It lived up to LJ's expectations but I found it a little too sweet.  If I make it again I will add some sriracha to my serving.

Tuesday, November 29, 2011

Roasted Root Vegetables

There isn't much to this recipe.  You can use whatever vegetables you would like (we've included squash, sweet potatoes, beets, turnips, onions, and garlic cloves in the past).  This time around we had carrots, parsnips, and potatoes, all of which came from our CSA share.  


I chopped the vegetables in to half inch pieces and tossed them with olive oil, salt, and thyme.  You can use whatever seasoning you'd like.


I spread them in a single layer on a cookie sheet and roasted in the oven at 400 degrees.


Every 10 to 15 minutes I gave the pan a stir until they were golden which will take about 45 minutes depending on the side of your pieces and temperature you roast at.


We have been getting so many carrots in our CSA (and I haven't been able to convince LJ to make her famous carrot cake cupcakes) that I've also roasted up batch of just carrots recently.  It is a simple side for almost any meal.

Monday, November 28, 2011

Black Bean Burritos

My brother Phil turned me on to the goodness and simplicity of these black bean burritos a few years back.  When I use to travel frequently for work I often spent the weekends on Phil's couch since he lived in the area of my work.  Phil is one of the more frugal people I know (he probably would even prefer to be called cheap).  For his last quarter in college he lived in the back of a mini-van that was parked in one of the university parking lots.  For a number of years he only owned one fork, one spoon, and one bowl/dish that he ate all of his meals out of.  He uses an empty beer bottle as a rolling pin when he is making pizza or desserts.

Phil likes to keep his meals simple and often eats the same thing four or five times a week.  This makes his grocery shopping relatively easy and he is able to stock up when he finds a good price on a commonly used ingredient.  One of the true joys of my weekend visits with Phil was going grocery shopping with him at Winco.  He would go grocery shopping every two or three weeks and get the same ten to twelve items each time (bread, apples, sour cream, cheese, lettuce, black beans) and then any other more specialty ingredient that may have run low.  He would also treat me by getting a bag of bulk candy on each trip which we would devour on the drive home.

One staple of Phil's diet is black bean burritos (probably more technically a bean taco).  You can use whatever you want for toppings.  Obviously, cheese and sour cream make them more expensive and healthy, so if you are eating them every day like Phil you might want to go easy on those.  Tomatoes, onions, and lettuce are staples for toppings though we have used spinach and kale with positive results.

LJ was stealing some cheese when I snapped the ingredient photo

Phil claims S&W makes the best black beans and will not buy any other kind

Delicious!

Thursday, November 24, 2011

Happy Thanksgiving

LJ and I will be taking the next few days off from posting while we travel and visit family.  My main responsibility every Thanksgiving is making the gravy so I will try to get a post about it up soon.  Happy gorging.

Wednesday, November 23, 2011

Ravioli: An overview

One of the most recent additions to my cooking skill set has been fresh pastas.  Last spring I broke down and purchased the pasta rolling and cutting attachments for my Kitchenaid mixer which I had coveted for some time.  Though they are expensive I feel like I will get my moneys worth out of them when it is all said and done.  I have also been using The Pasta Bible as my guide for noodle and sauce making.  However for ravioli fillings I mostly have been scouring the internet and making up concoctions that I think will work well together.

In this post I will go over the general technique for making the ravioli and then in future posts I will expand on different fillings and sauces I have experimented with.

Pasta dough is very simple and has very few ingredients.  Depending on what sort of pasta you are making the ratios of ingredients or the flour type may change, but the process for making the dough is the same for the most part.  For ravioli dough I use all purpose flour and salt which I combine together.


I was unable to find farm fresh eggs for this batch of dough so I had to rely on store bought.


When using farm fresh eggs (which I much prefer) you will find the yokes to be much more vibrant in color and have more of an orange hue, especially in the summer.  The quality and color of the yokes goes a long way in determining how the finished pasta will look and taste.


You can mix the eggs in to the flour by hand, or


use the dough hook on your electric mixer.  I have done it both ways but since I will be using the mixer to roll the dough I also use it for the mixing of the dough.


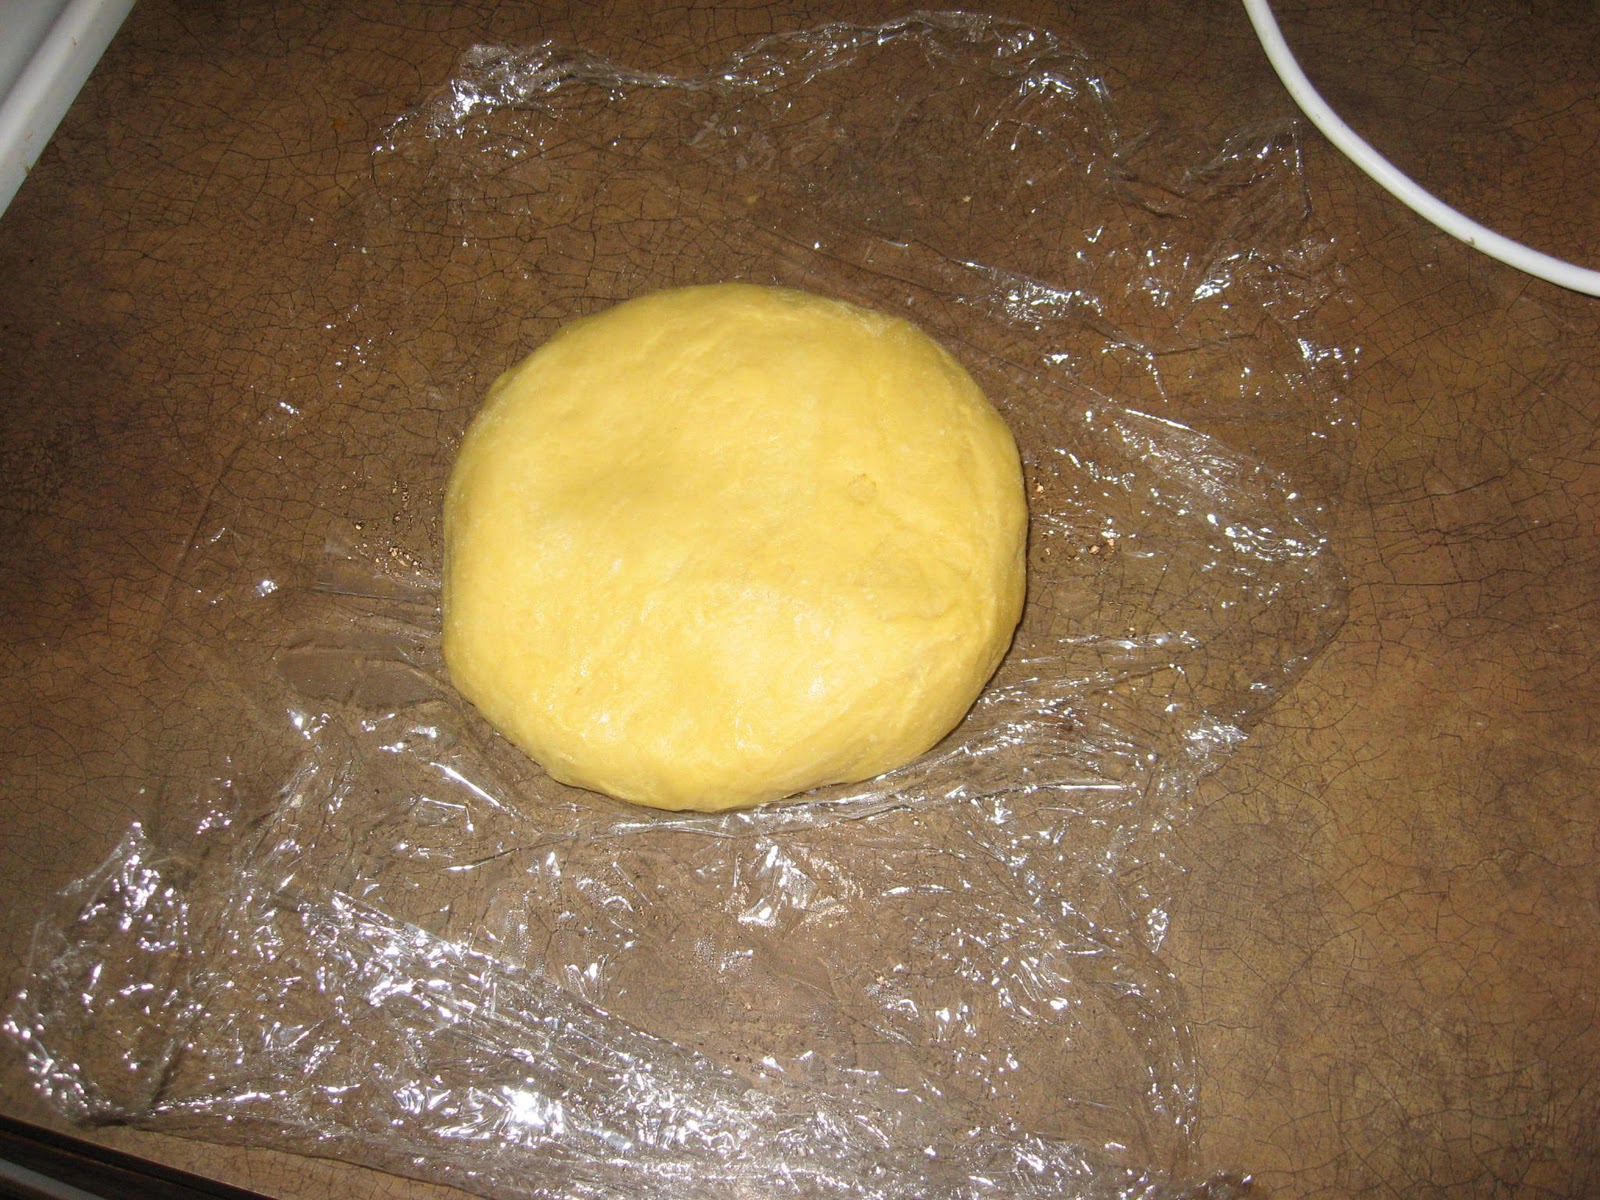
After the dough is formed it needs to rest for about an hour in the refrigerator.


After the dough has rested I quarter the dough to make the rolling process easier.  I start the dough on the widest setting on my roller and feed each piece through.


I have found that if the dough is too sticky it will start to pull apart while it is feeding through the rollers.  If this happens you can dust on more flour and fold the dough over itself.  You can then roll the dough again to incorporate the new flour.


I dust the dough with flour often to prevent sticking in the rollers and so the dough won't stick to other pieces.


I work each sheet through the roller two or three times on each setting.  You may need to cut the sheets in half if they become too long to handle easily.  For ravioli dough I work the dough to a medium thickness which corresponding to setting 5 on my rolling attachment.


Once the dough reaches the desired thickness I use a pizza cutter to create strips that are two to three inches wide.


Once the strips are made (keep the dough covered when not working with it to prevent it from drying out) I place a small spoonful of filling on one side of the sheet.  I use a small brush to paint the edges of the dough with water to help the dough stick when sealing the ravioli.


You can use a fork or some other device to seal the ravioli but I have found pinching with my fingers to work just fine if the edges have been wet.


Once all the ravioli have been made I place the ones that won't be eaten that day on a cookie sheet so they can easily be frozen and then bagged for use at a later date.


For the ravioli that will be consumed that day I usually let them sit uncovered for an hour or two to let the pasta dry and firm slightly.


You cook fresh pasta the same way you would cook dried pasta.  The only difference is that fresh pasta cooks much more quickly.  We have found that for fresh ravioli they only need to boil for a few minutes.


You can eat them straight out of the pot with your favorite sauce or pan fry them with some butter or olive oil.

Tuesday, November 22, 2011

Cabbage Salad

LJ and I were invited to a potluck and I wasn't sure what to bring.  We had a head of savoy cabbage in the fridge from our CSA share so I did some quick Googling for a cabbage salad recipe.  This recipe was the first to come up and very highly rated so I decided to give it a try.


I chopped up a package of ramen noodles along with a cup of almonds.  I didn't have any sesame seeds so I excluded them from the recipe.  I mixed the nuts and noodles with melted butter and then baked them in the oven, stirring often until brown and crispy.
  

I let the nuts and noodles cool while I moved on to the dressing.  I mixed all the dressing ingredients together and heated them to a boil.  After they boiled for a minute I allowed the mixture to cool and transferred it to a dressing jar.


One of the best things about this recipe is that I was able to do most of the prep work a few days ahead of time.  I packed up all the ingredients on the day of the party and was able to chop the cabbage and green onion right before the food was served.


This was incredibly easy to make and created a huge salad.  I'd highly recommend it for any large gathering.

Monday, November 21, 2011

Bean Burritos

One of my goals when making meals is to create food that will also store well for leftovers for LJ's future lunches.  With that in mind and a surplus of refried beans, I decided to make bean and cheese burritos.


I spread the beans on one side of the tortilla and sprinkled cheddar cheese on top.  When I make these again I will mix the cheese and beans together to see if it helps with the melting of the cheese.


I folded all the burritos, making sure to tuck the ends in under so they would seal well when fried.


I put the burritos in to a medium hot pan with the seam side down to seal the burritos.


I placed a second pan on top of the burritos to keep the heat in and help them keep their shape.  After a few minutes I flipped the burritos to grill the other side.


The burritos turned out perfectly.  I put the leftovers in to freezer bags and LJ takes two at a time for lunch.  They are similar to the packages of frozen burritos you can buy from the grocery store but with these you can control exactly what goes in to them.  I'm hoping to try some beef and bean ones in the near future.

Saturday, November 19, 2011

Chili con carne

Even though it technically isn't winter yet, it sure is feeling like it.  I decided to make a batch of chili in the attempt to fight of the chilliness outside.  I have found making chili to be pretty forgiving so I don't measure any ingredients.  There really is only one rule, which my dad taught me when he use to make batches: Taste it often, because it almost always needs more cumin.  

People who have never made chili before often think the only spice that is needed is chili powder.  However, cumin is a must.  I also added garlic and onion powder, along with salt to taste.

I used a cup each of dried kidney and pinto beans

Chopped garlic, peppers, and onion

Started the cooking with the ground beef.  I've also heard bacon is good to add at this stage.

Added the vegetables with a a can of diced tomatoes.

Add the beans, spices, and broth to cover.

Cooked over medium low for 4-6 hours.
Depending on what consistency you like your chili, you have a few different options for how you finish it.  I usually blend some of the beans with a food processor or immersion blender to thicken the liquid.  You can also add corn starch to some of the liquid.  If you like it thin you can eat it as is.

Served with sour cream, cheese, and corn bread

I don't know how to make a small batch of chili, or at least not smaller than I made for this post.  That is fine though because it stores well in the freezer and it works great for lunch a few days later.

Friday, November 18, 2011

Dinner Rolls

Friends of ours from high school organize a yearly "Friends Thanksgiving" every Veteran's day weekend.  For the past couple of years LJ and I haven't been able to attend because of my work schedule but since I have become dependently wealthy and temporarily retired, we didn't have any excuse were able to attend this year.

I knew I wanted to bring some bread so I did some quick Googling and settled on these wheat dinner rolls.  I followed the recipe to the letter and was very pleased with how they turned out.

Proofing the yeast


After the dough rose I rolled it out.  I used my bench scraper to measure 1 inch strips.

The pizza cutter worked perfect for cutting the strips.

We only own one muffin tin so I free formed the rest.

The ones in the tin had better color


I'm considering trying something similar to make cinnamon rolls