- - - - -
Review the instructions again, making sure to follow the notes I've made for myself. For some reason, this pattern has the zipper opening up on the opposite side than normal, so the first pair I made always confuses me when I go to zip up or down.

Change to a zipper foot in order to be able to stitch close to the zipper.

(Oops, looks like I forgot to document a couple steps. Must have been too busy concentrating!)
Fast forward to the part where the topstitching of the fly is done, and remove the blue marks with water.

Make some additional blue marks that had previously been forgotten.

Try to precisely line up the fabric along the edge of the zipper.

After sewing, pull the threads underneath and tie off.

Trim the seam on the underfly piece and clip the curved edges so they will turn nicely.

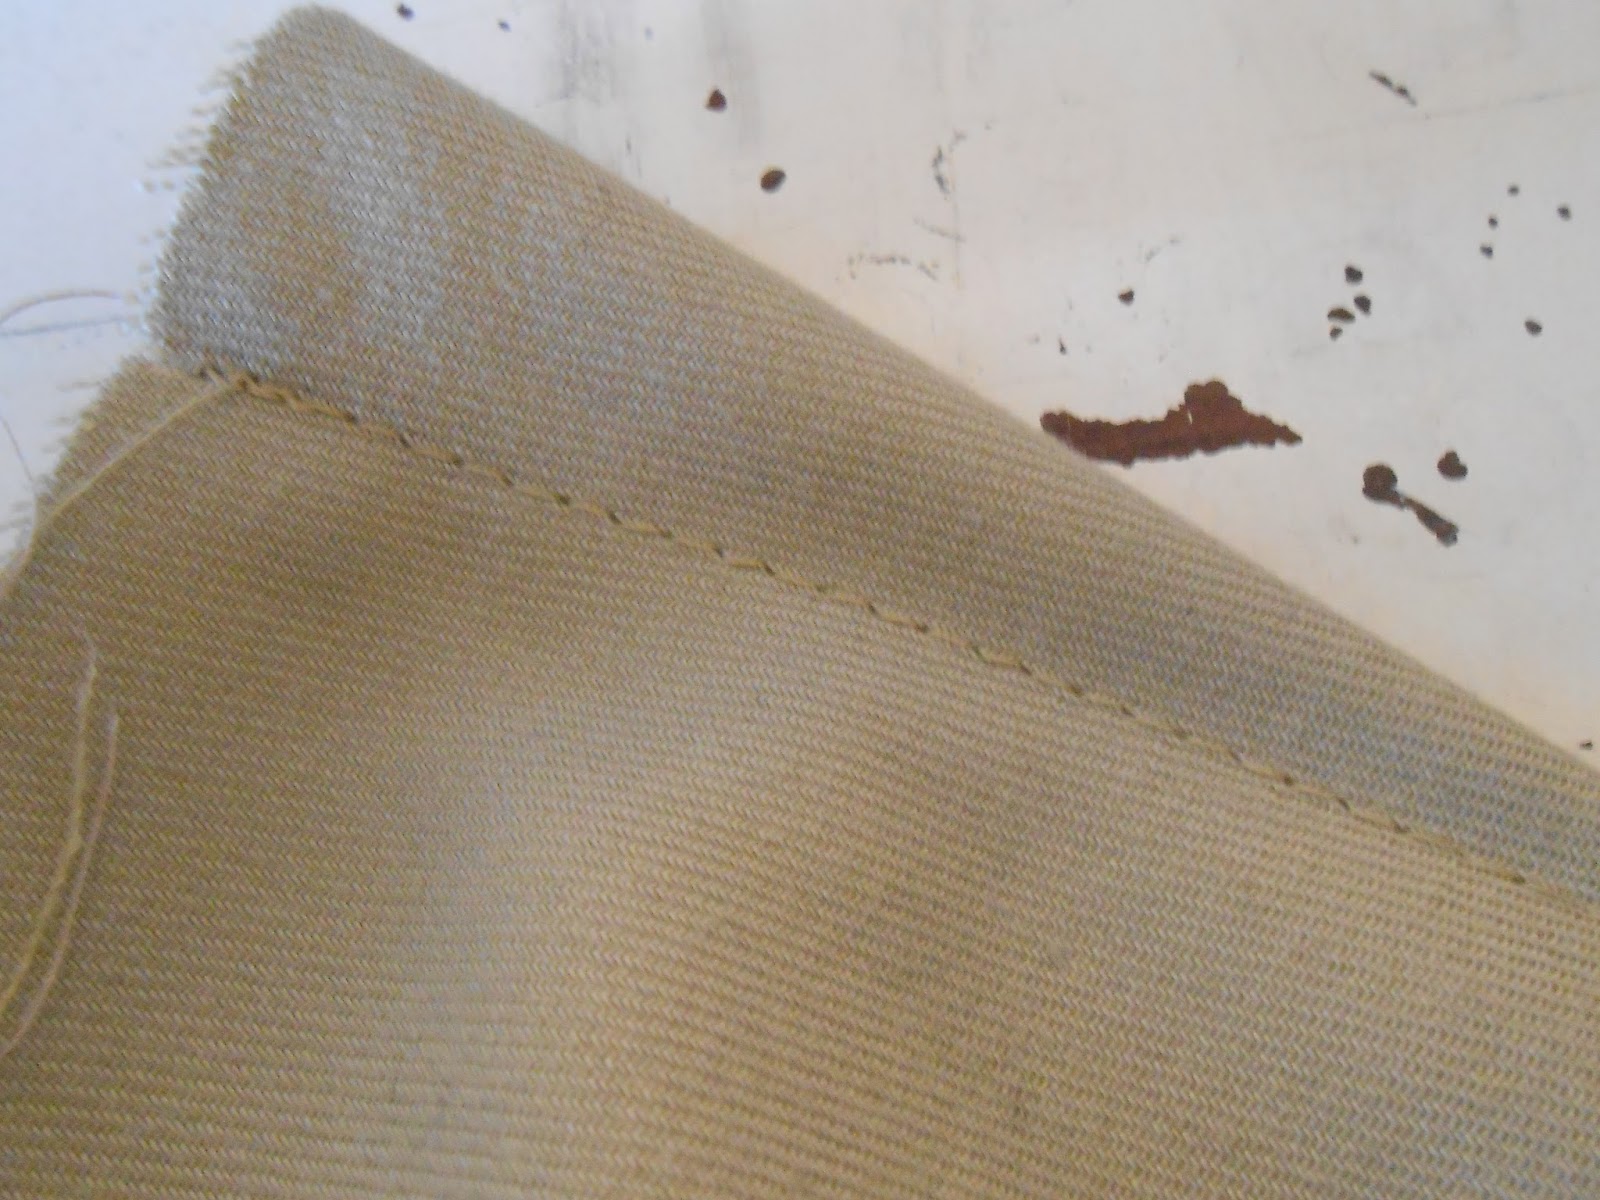
Press the underfly piece with lots of steam, as per usual.

Ignore the loose serger stitches.

Measure and mark. Looks like the curve could have used a few more clips and a little better pressing.

Practice stitches that will tack the underfly to the pants.

Be glad I ran out of bobbin thread on the test stitches and not the real thing.

Change to a new, fully loaded bobbin. Also be glad that I prepped several bobbins ahead of time, so I wouldn't have to unthread and rethread the machine during the sewing process.

Sew two sets of tacking, but rip out the one that doesn't really look good there.

Ah, much better.

Admire the finished zip fly.

Notice that I should have serged these edges before starting the fly.

Make a note in the instructions for next time. I'm not sure how I missed this step the previous times I have made this pattern up.

Attempt the serging after the fact with questionable results. Oh well, this part of the pants is now complete, so don't worry about it and just move on.

Stop and wonder why the stitches got so wonky on the back darts.

Rip out the stitches and try again...

...with much better results, though I never figured out what was causing the problem in the first place.
Press the darts over a sewing ham that helps simulate the curve of one's booty (or any other curved body part).

Psych myself up for the hardest part with the help of the King of Soul.

Hope the process goes better than last time. (In which I started sewing the pockets to the incorrect side of the fabric, then tried to redo it on the correct side which left me with this mess. Luckily I had bought plenty of fabric so I ended up just cutting out entirely new back pants pieces.)

Mark and pin the pieces as precisely as I can muster - on the correct side of the fabric.

Try to replicate the precision on both pieces.

After sewing the "window," perform nerve-wracking incisions through the welt piece and the back pants piece.

Success! Try not to worry too much about the irreversible, gaping hole in my pants, as I did not have enough fabric to cut new pieces if something went awry.

Make a mess of some more stitching, rip out, and redo. (Yes, this happens on a somewhat regular basis, most likely the result of user error and not a problem with the machine.)

Partway to success, as seen from the inside and outside of the pants.

Assemble the last puzzle pieces of the pockets.

Check the functionality of the slightly wobbly welt pockets.

Tame the mess that resulted from so many lines of stitching.

Part three is coming up next, in which I finish everything up and learn a handy trick for finding those stray pins that always wind up on the floor.
No comments:
Post a Comment